This is a multiple part series for my Binding of Isaac Diorama, if you haven’t seen the previous parts check here and here.
So what have I done?
In this part I will show you the progress I have done last month on the Binding of Isaac diorama, specifically on the props that exist on the board. The main character, the pedestal item and some extra props around that.
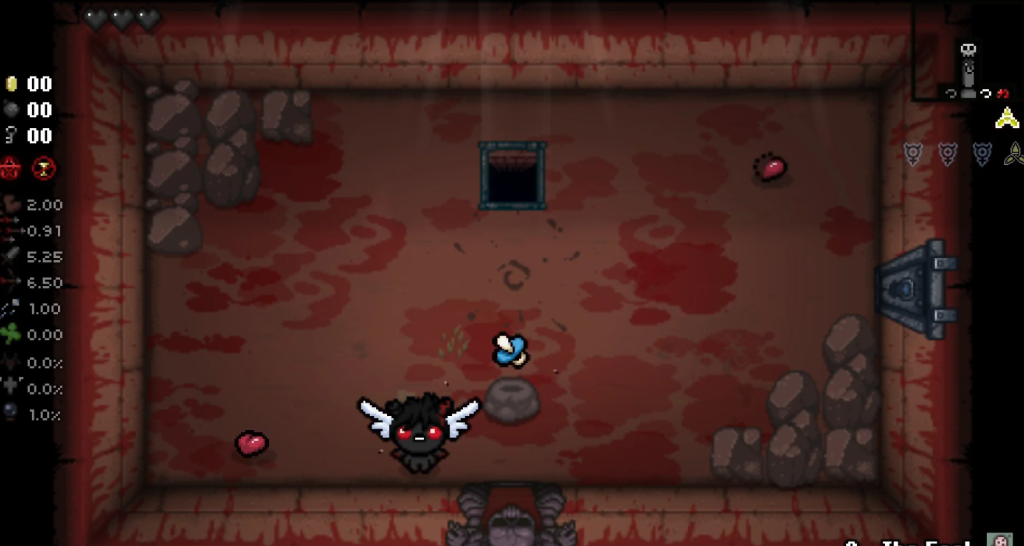
The idea was to practically have a snapshot of what the character would see after beating the boss, the reward and potentially some other props around him (rocks, coins, hearts etc).
This way it would be a bit simpler to make and less clay sculpting which is a bit annoying to me.
Isaac is actually Judas!
We moved from Isaac to Judas which was quite similar to make + black eyes, an upside cross and a fez (literal reference to the popular indie game FEZ).
I went with this approach (the image is from the board game which is a bit different from the actual game but cooler).
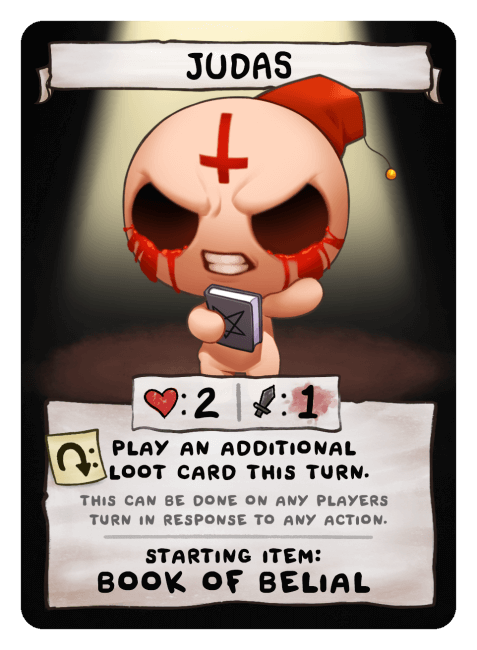
The approach was simple, use the image, try making some clay basic shapes and start sculpting. Well the plan worked and the blob of clay looked like Judas 😛
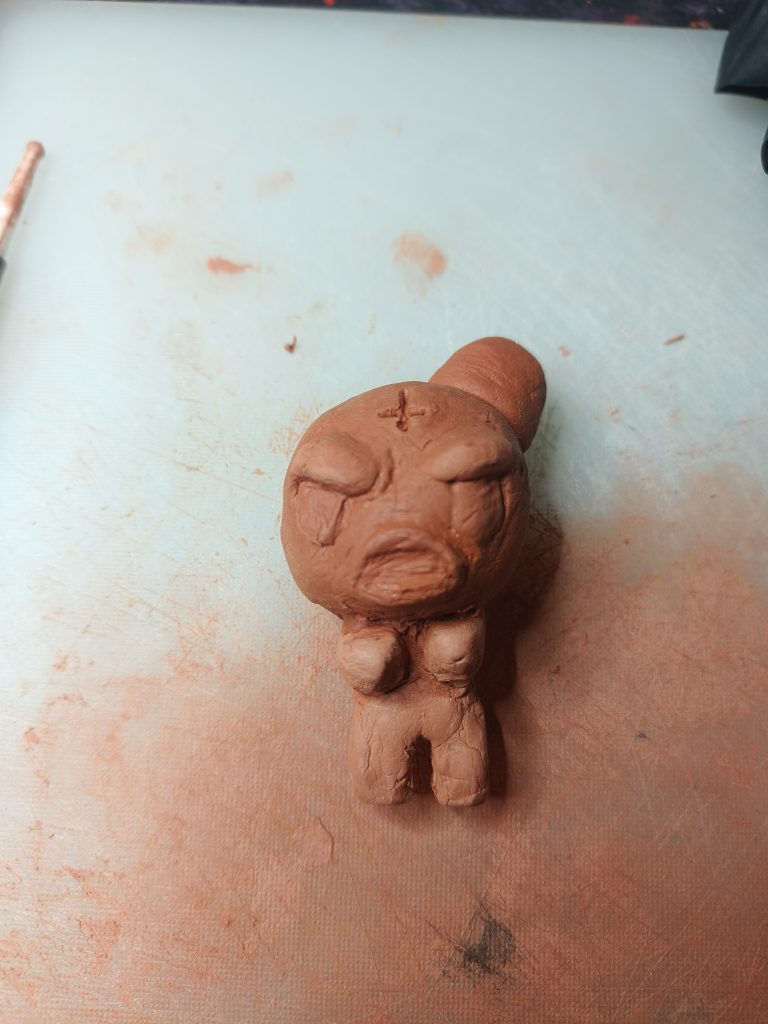

Starting with small shapes and adding small chunks of clay helped to shape him bit by bit. Mind you my experience with clay is almost 0 but I knew that with some time and some water here and there you could make the basic shape that Isaac is in clay.
Using a core of aluminum sheet balled up and shaping his body first in this material helped to reduce the amount of clay needed and in parallel the amount of how much the model shrink as the water evaporated. This way the cracks were avoided and the model remained similarly to what I sculpted.
For paints it was pretty simple, a skin color tan was used to paint Judas in 2-3 layers for full coverage and then painted the details with a fine brush.
Small detail and items
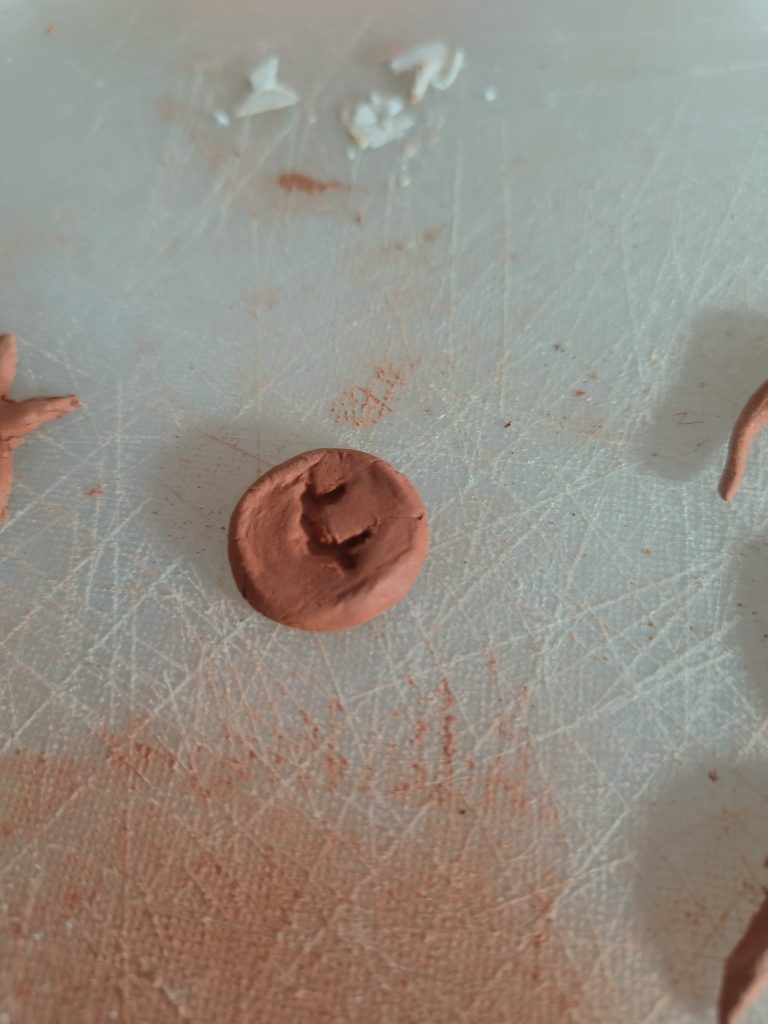
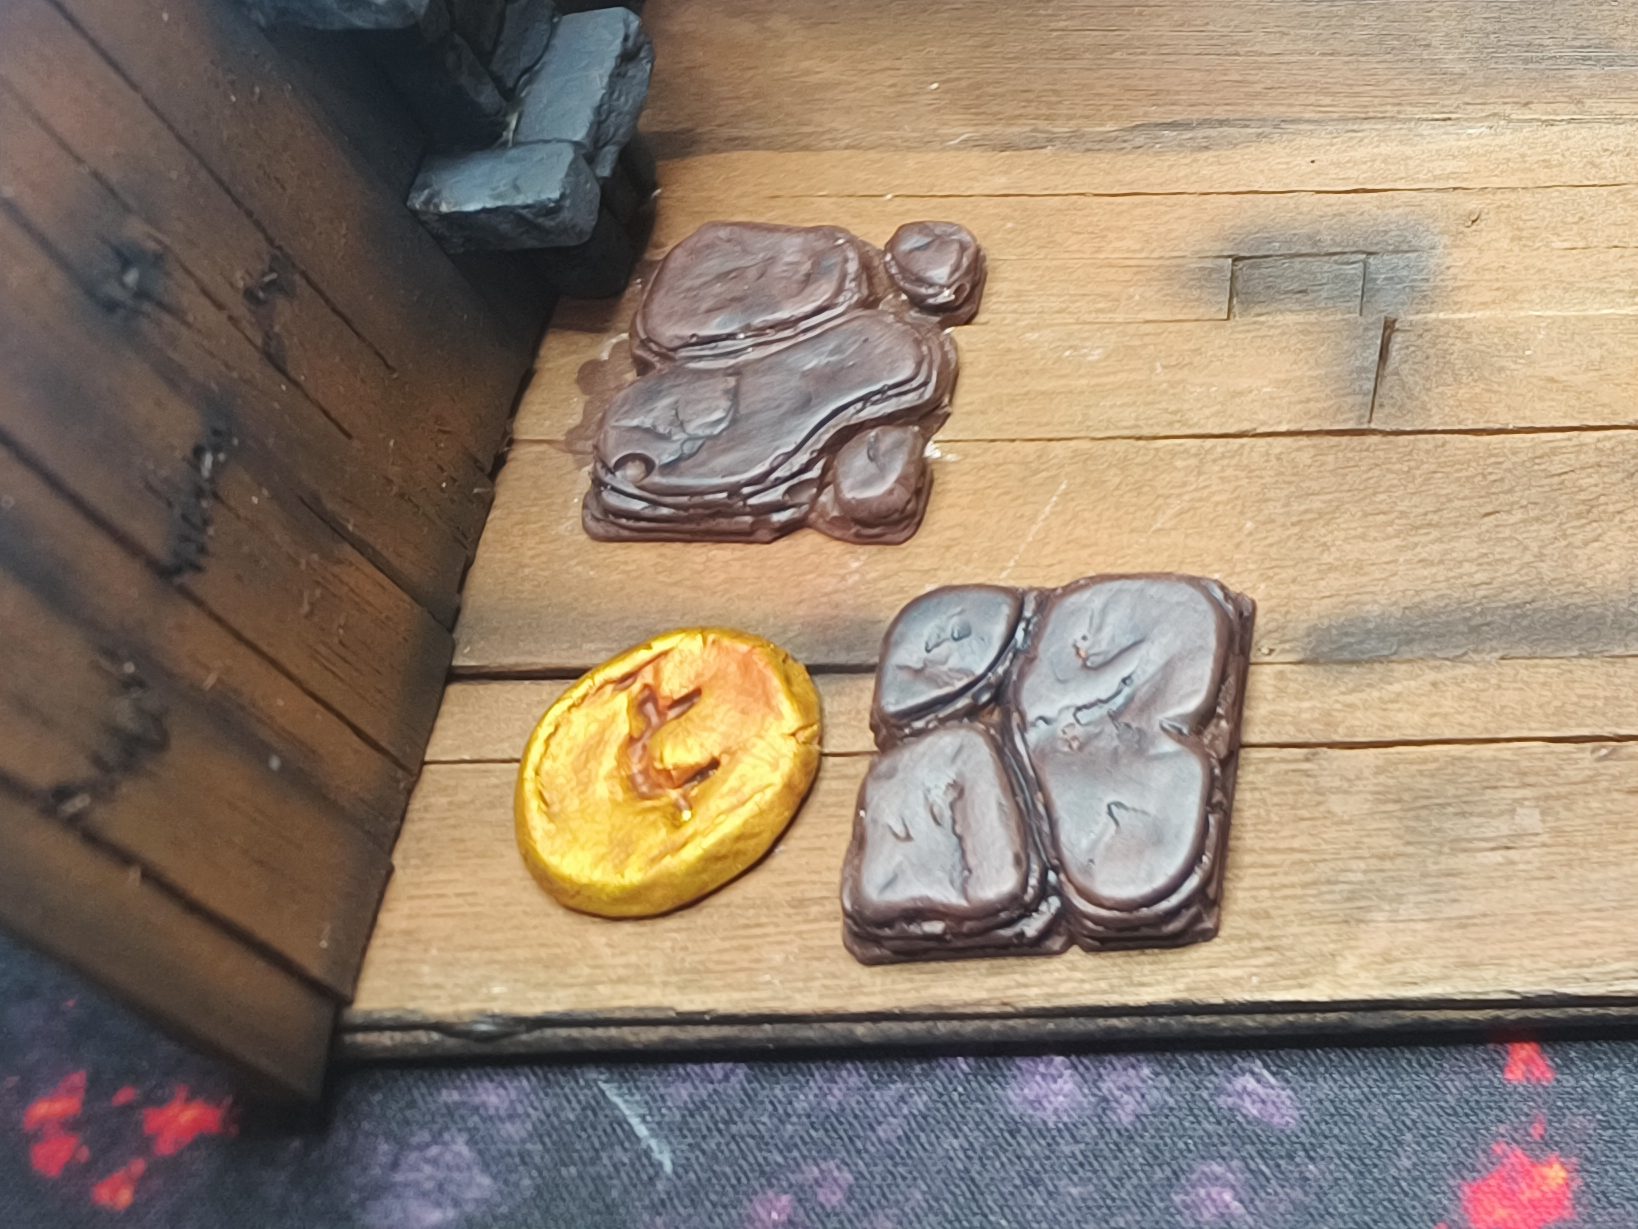
Similar to the model above the small items were made with clay, shaped by hand and tried for them to be as close to the game as they could be but also not too perfect, because why would they be? The game is not pixel perfect and gives the vibe of randomness that those items can give more by not being too serious about the shape or the color being perfect.
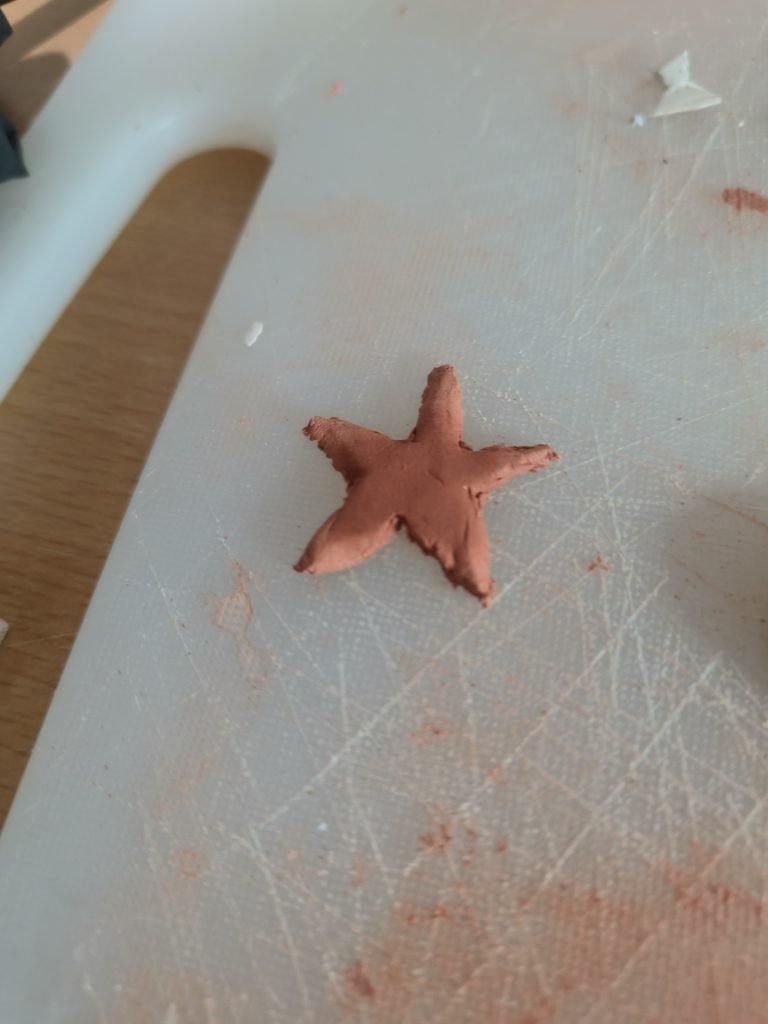
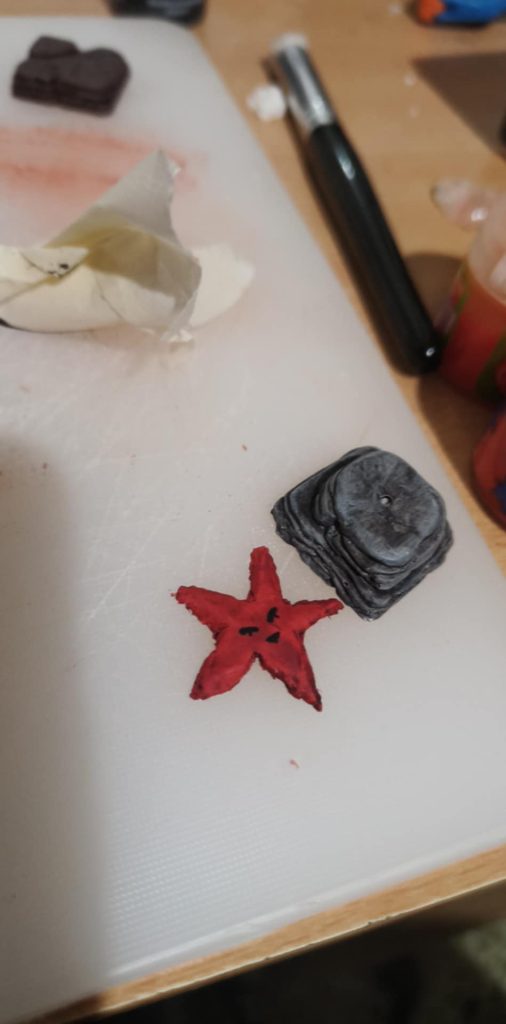
The Pedestal item was also made from 2 different types of material, clay for the star and plaster blocks from hirst art molds I used in past projects and had left over. Also the stones in the floor were made from the same kind of molds (honestly amazing work from Hirst Arts on those molds!).
Painting those were simple, the coin was gold with a wash of brown-ish color, the pedestal was red for the star with some black for the face and a citadel paint contrast paint for the base of the pedestal. The stone was based brown and washed with black to make it less fancy.
So what is left?
Well I have to finish up Judas by completing his fez and gluing him on his base, attach the star pentagram with a transparent plastic rod on the base and glue it also on the base and with that would call it done!
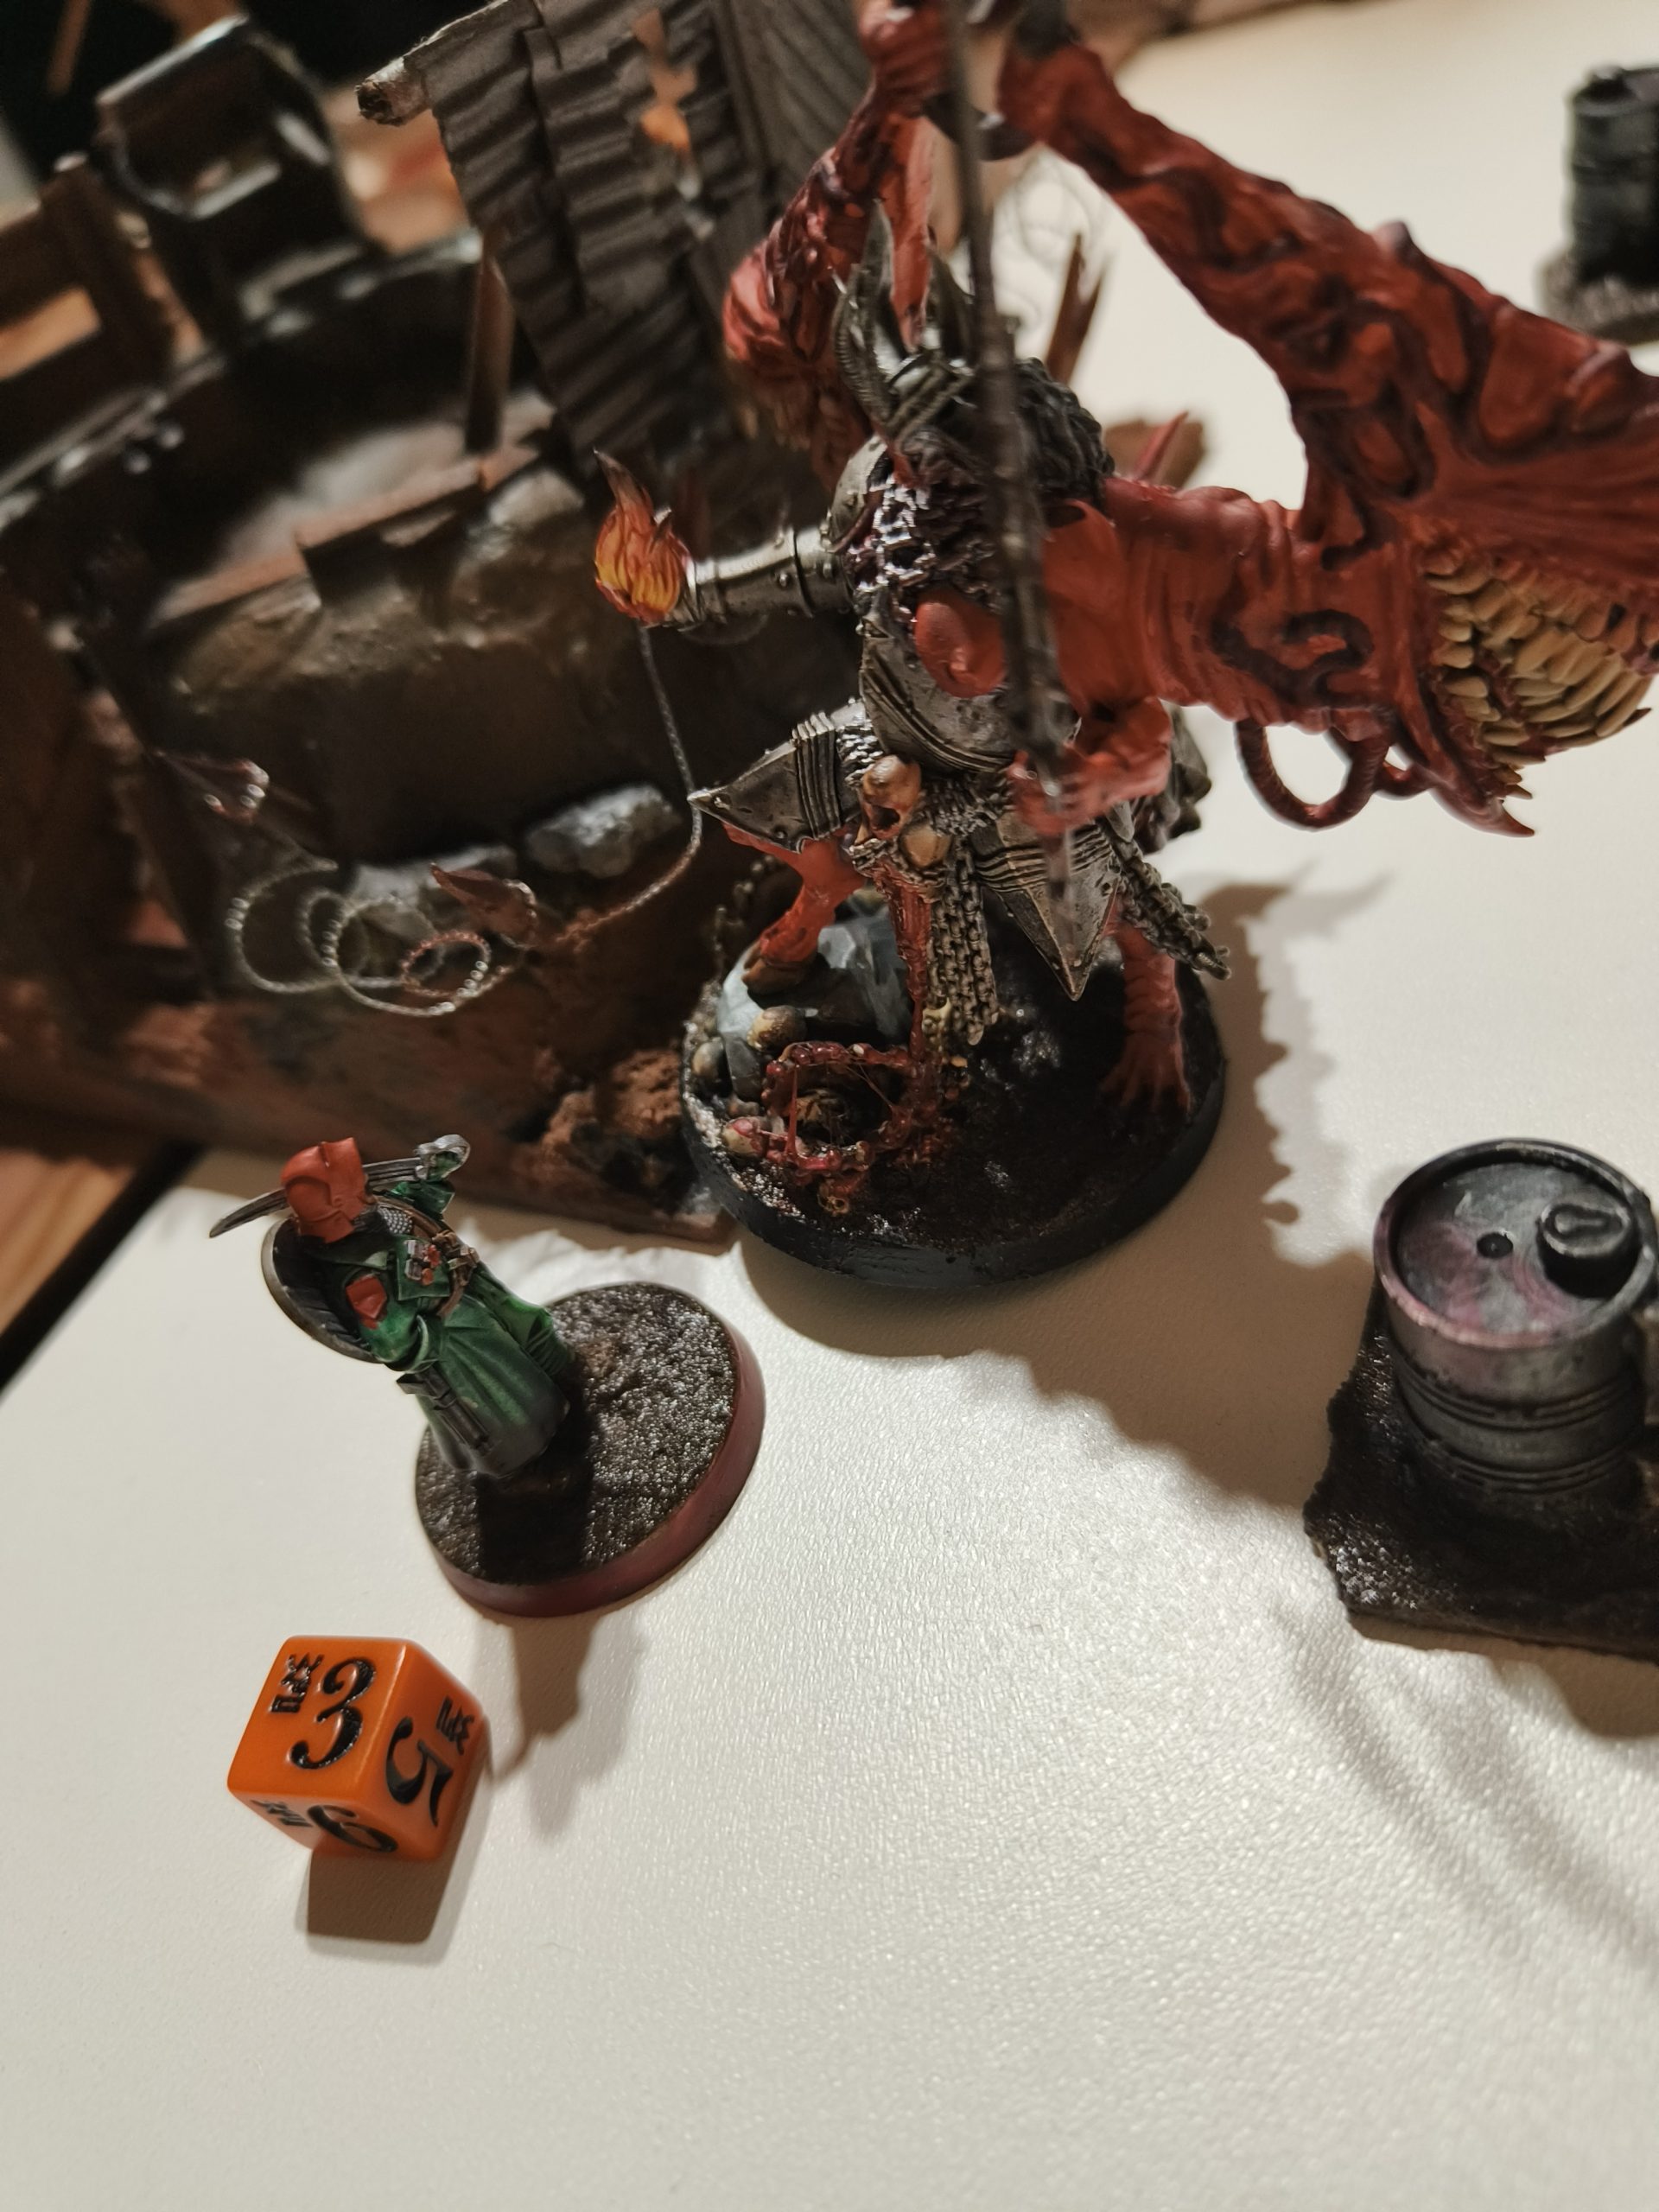
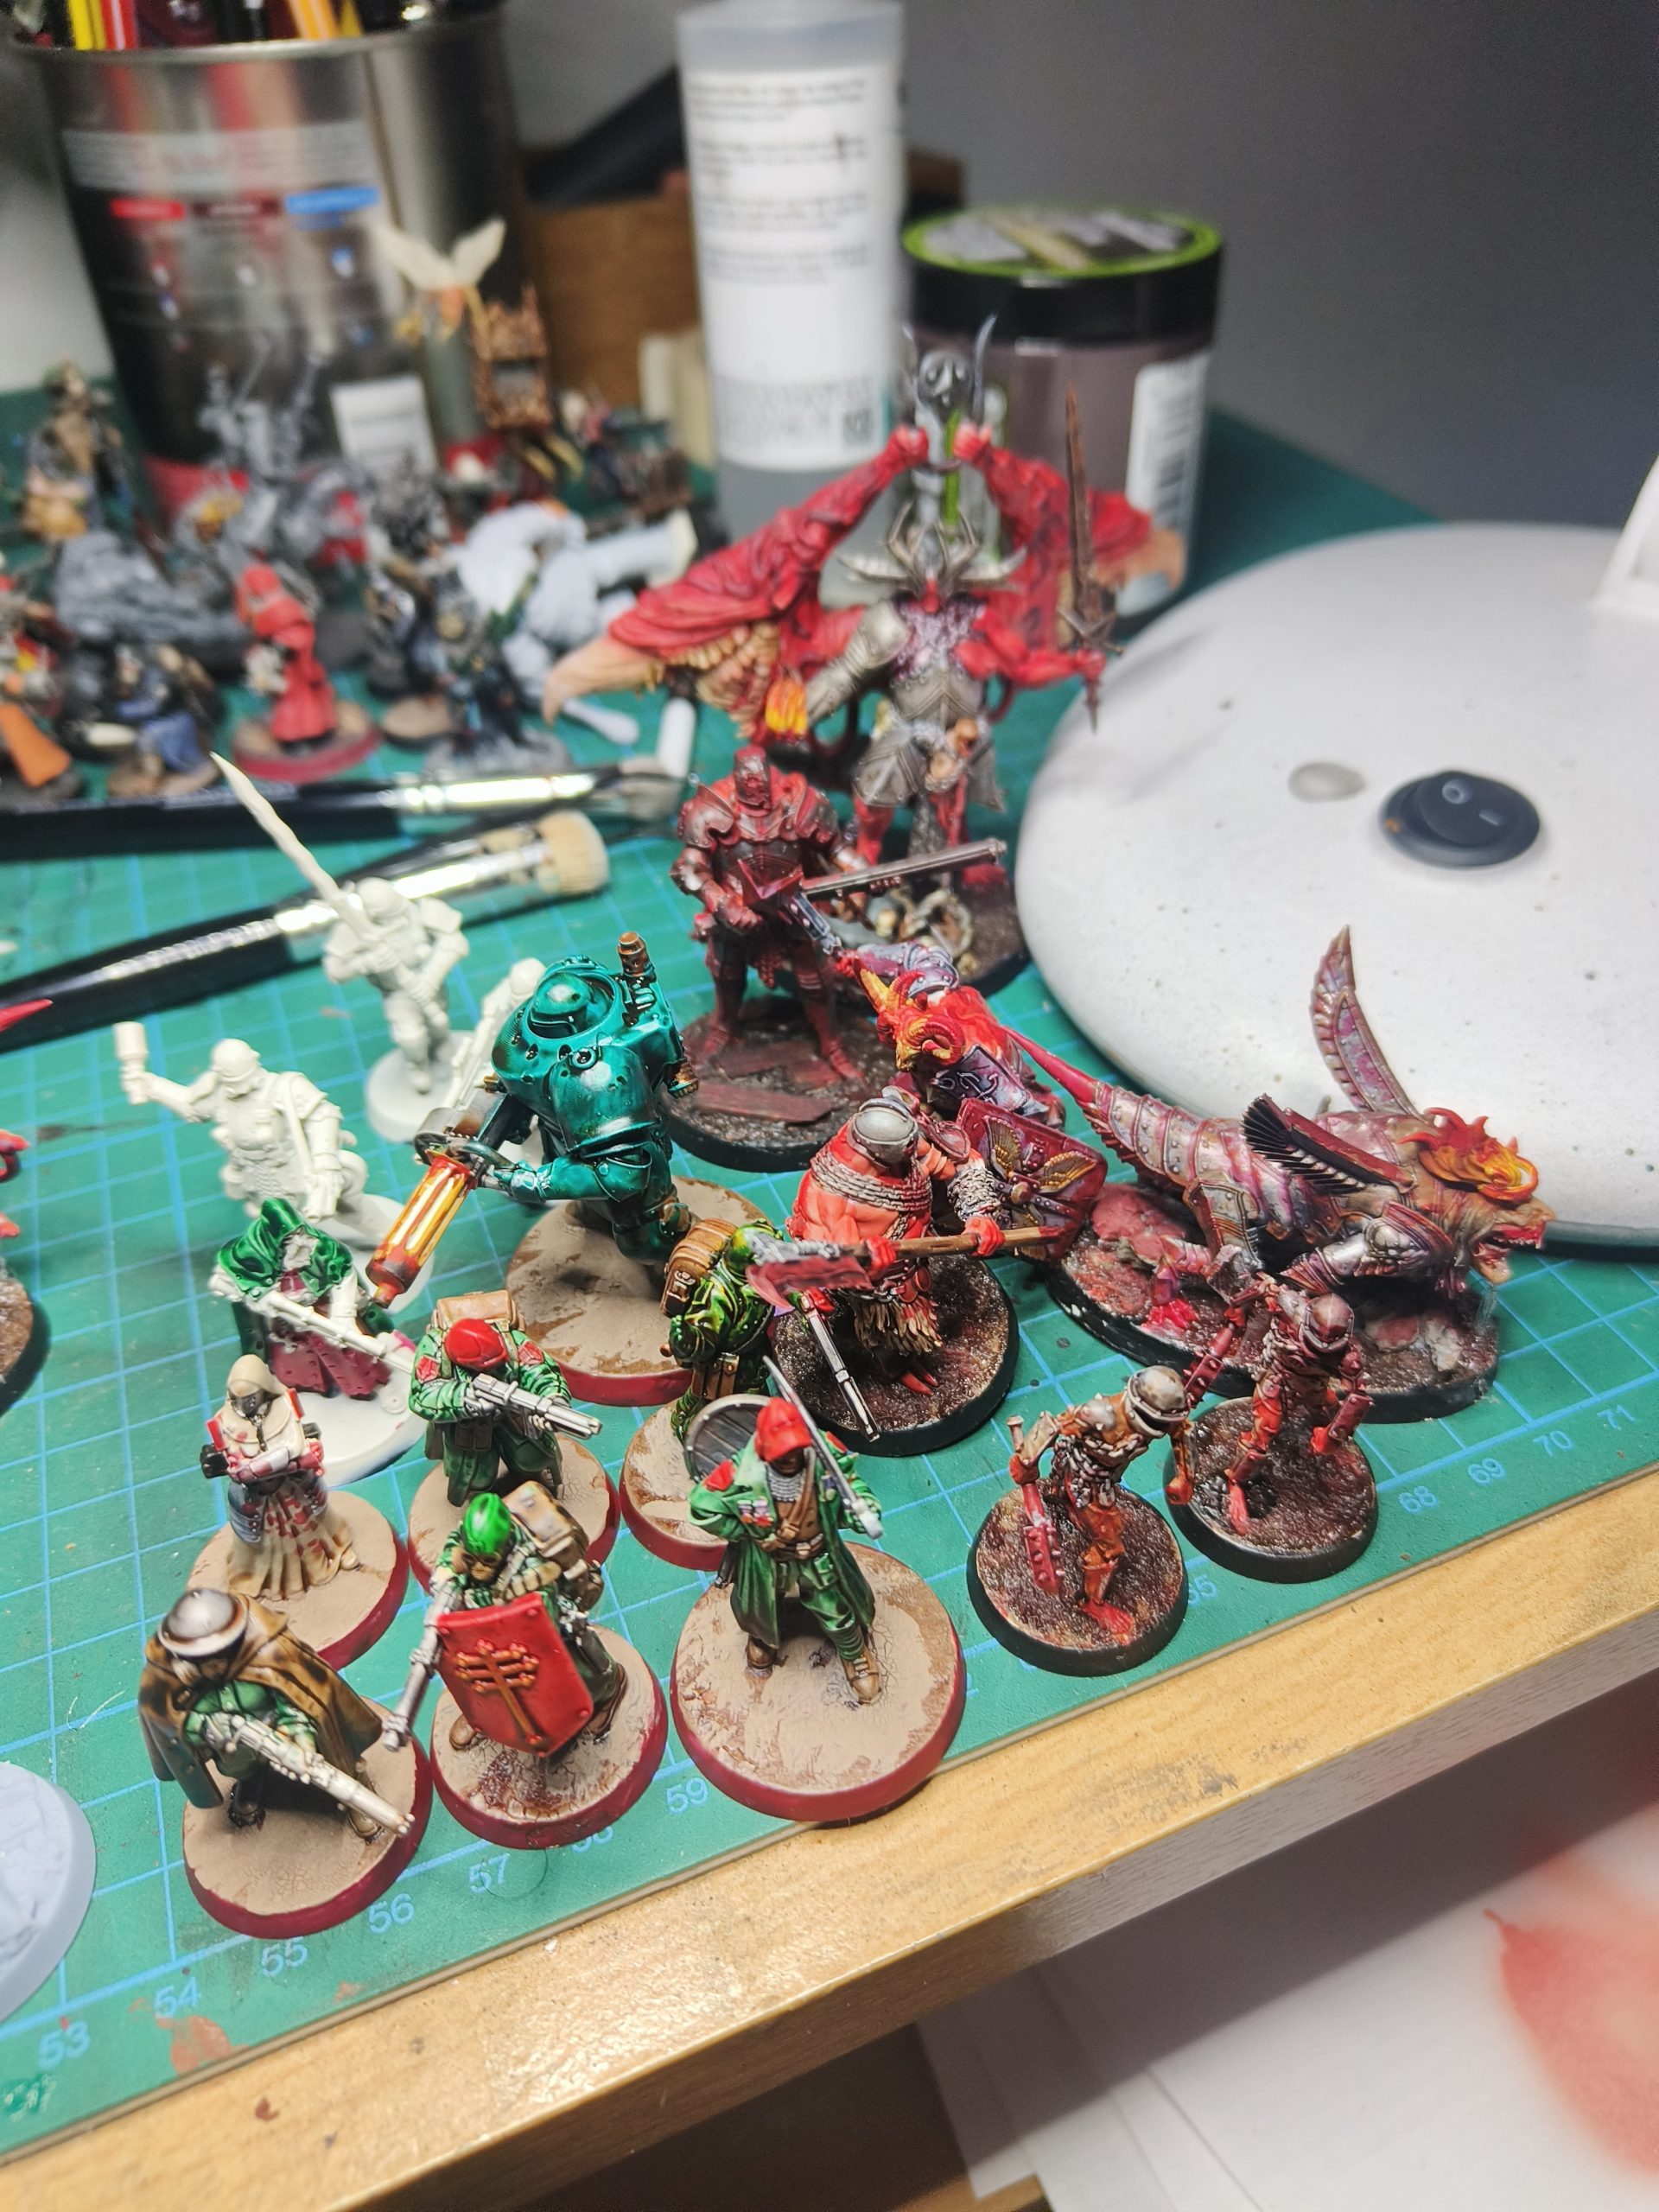
While being at this point trying to find how to make it, well….I stumbled upon Trench Crusade and the whole plan was left to the side to focus on some big big projects with that.
Spoiler: Trench crusade terrain/diorama and Trench Crusade full modular board with trenches to cover most of the scenarios and start a campaign with my best friend! A lot to do. Will pause this series and start a Trench Crusade one soon enough!!