Some months ago I had a discussion with a friend of mine, long story short this ended up spiraling down the bottomless pit of 40k lore and lunacy that comes with any discussion around Death Korps of Krieg. Our favorite shovel boys and their amazing lore (here and here) didn’t have any appropriate shovel diorama representation, something I really wanted to fix.
Dioramas: I haven’t done one before, tried to do some smaller scale projects in the past but all ended up finishing prematurely in the recycle bin half-baked half-finished. Damn you procrastination!!!
I had a month to burn while our home was getting renovated so, let’s do it!
Ideation and design
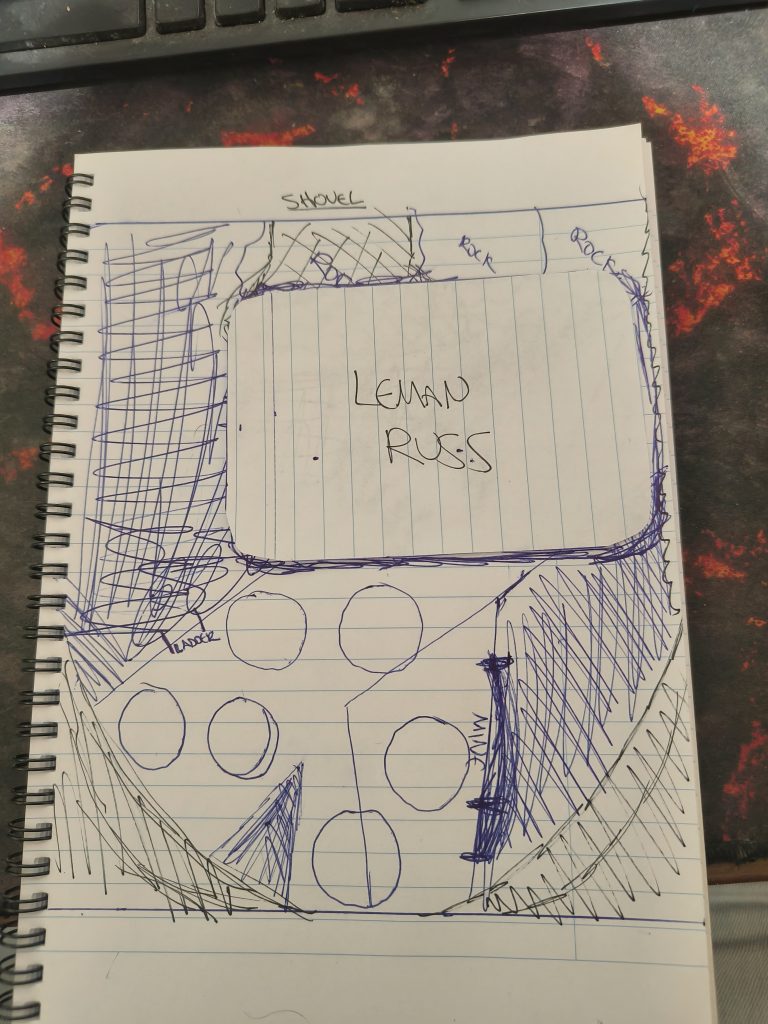
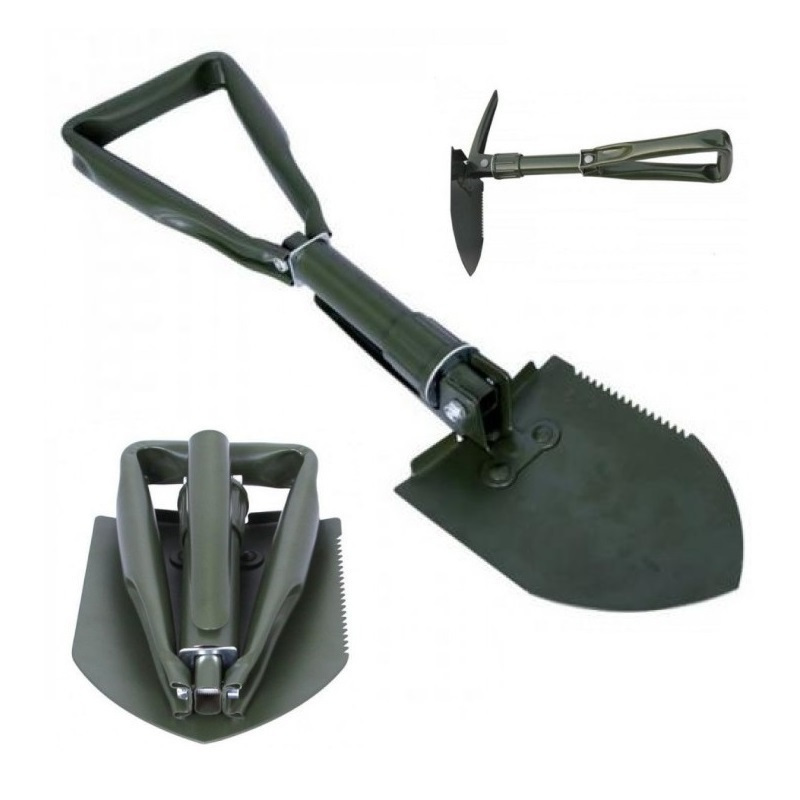
Simple A4 paper, the dimensions for a cool small camping shovel and a couple of GW models would be enough to bring the Krieg Trench warfare to life.
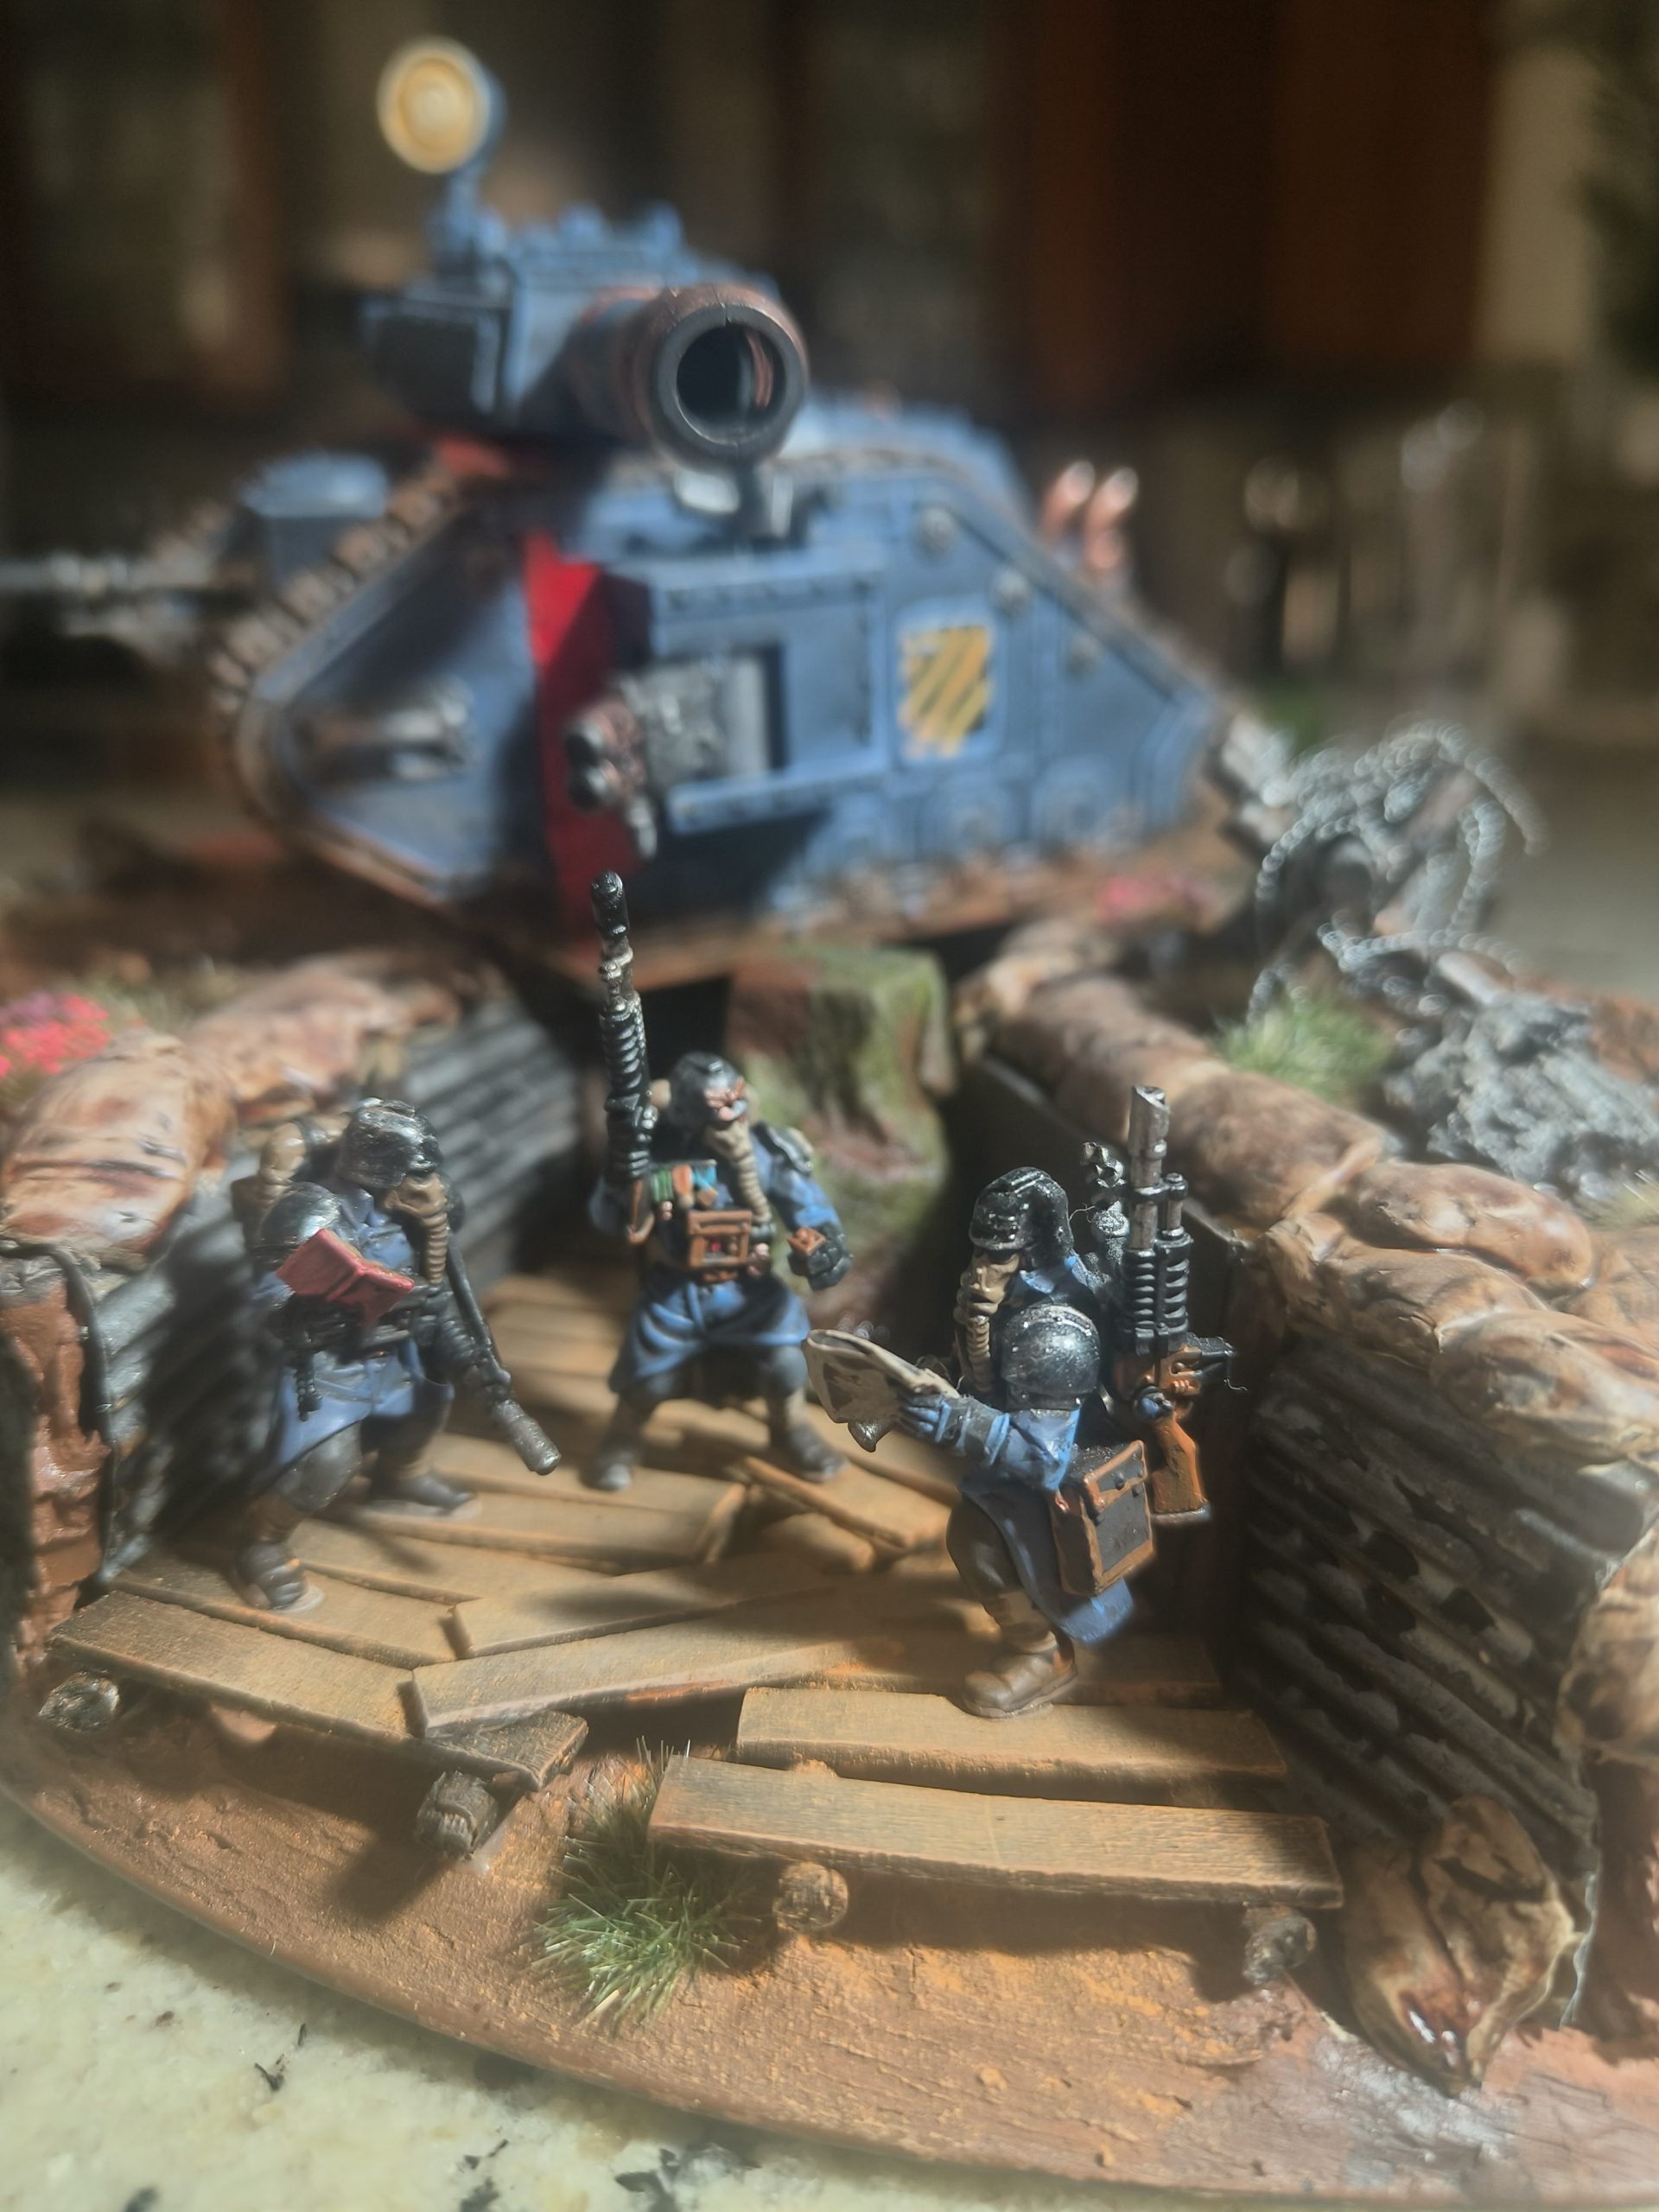
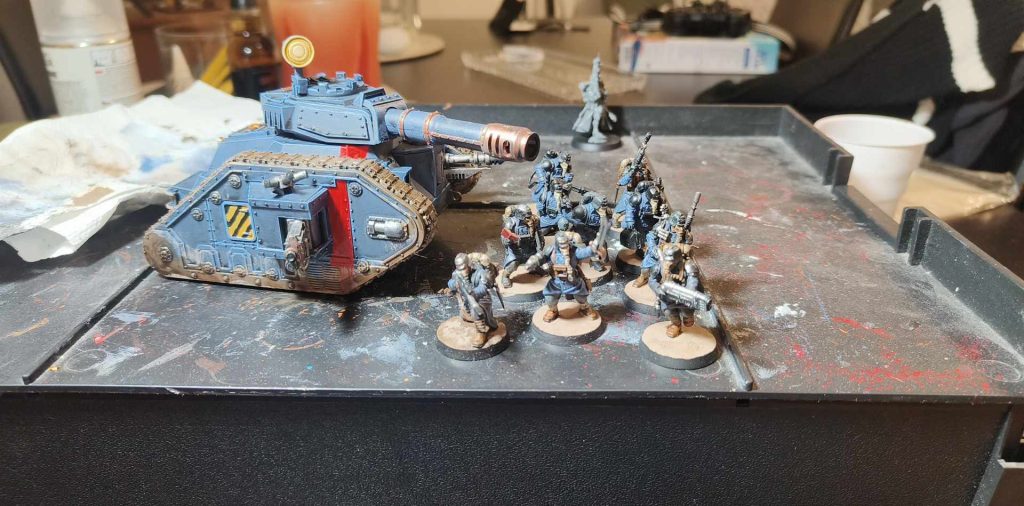
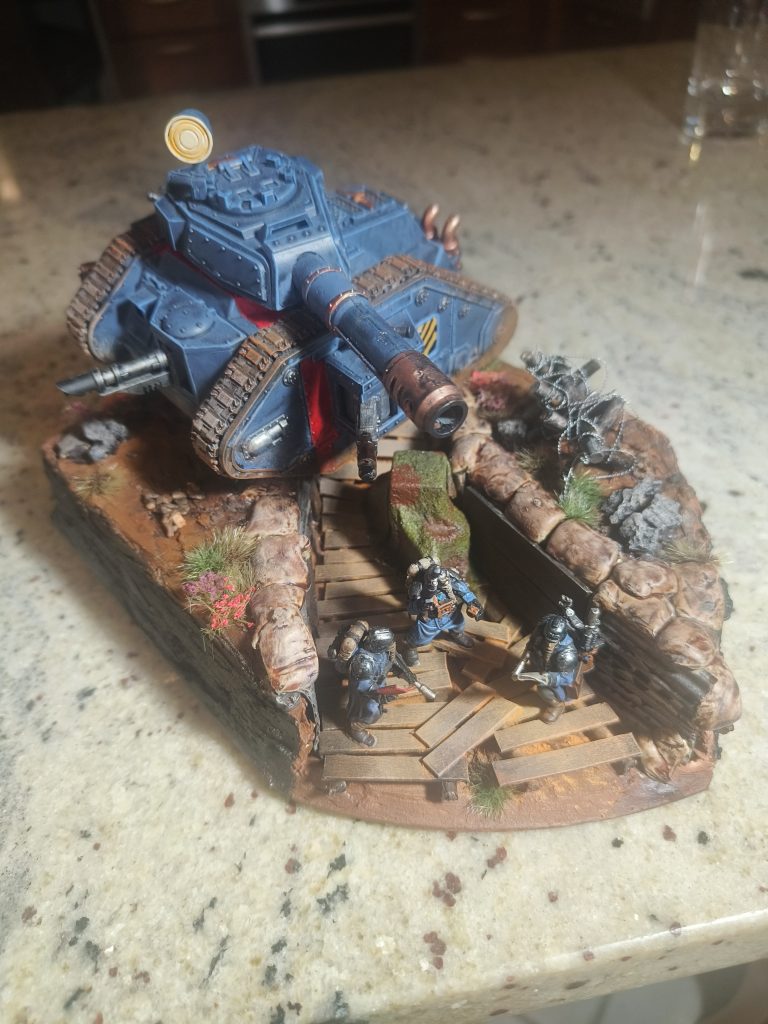
The main idea, the Leman Russ would pass over the Krieg Trench while 3-4 Kriegsmen would plan the next move of their regiment.
First time making a diorama with a trench, first time making this big of a diorama!

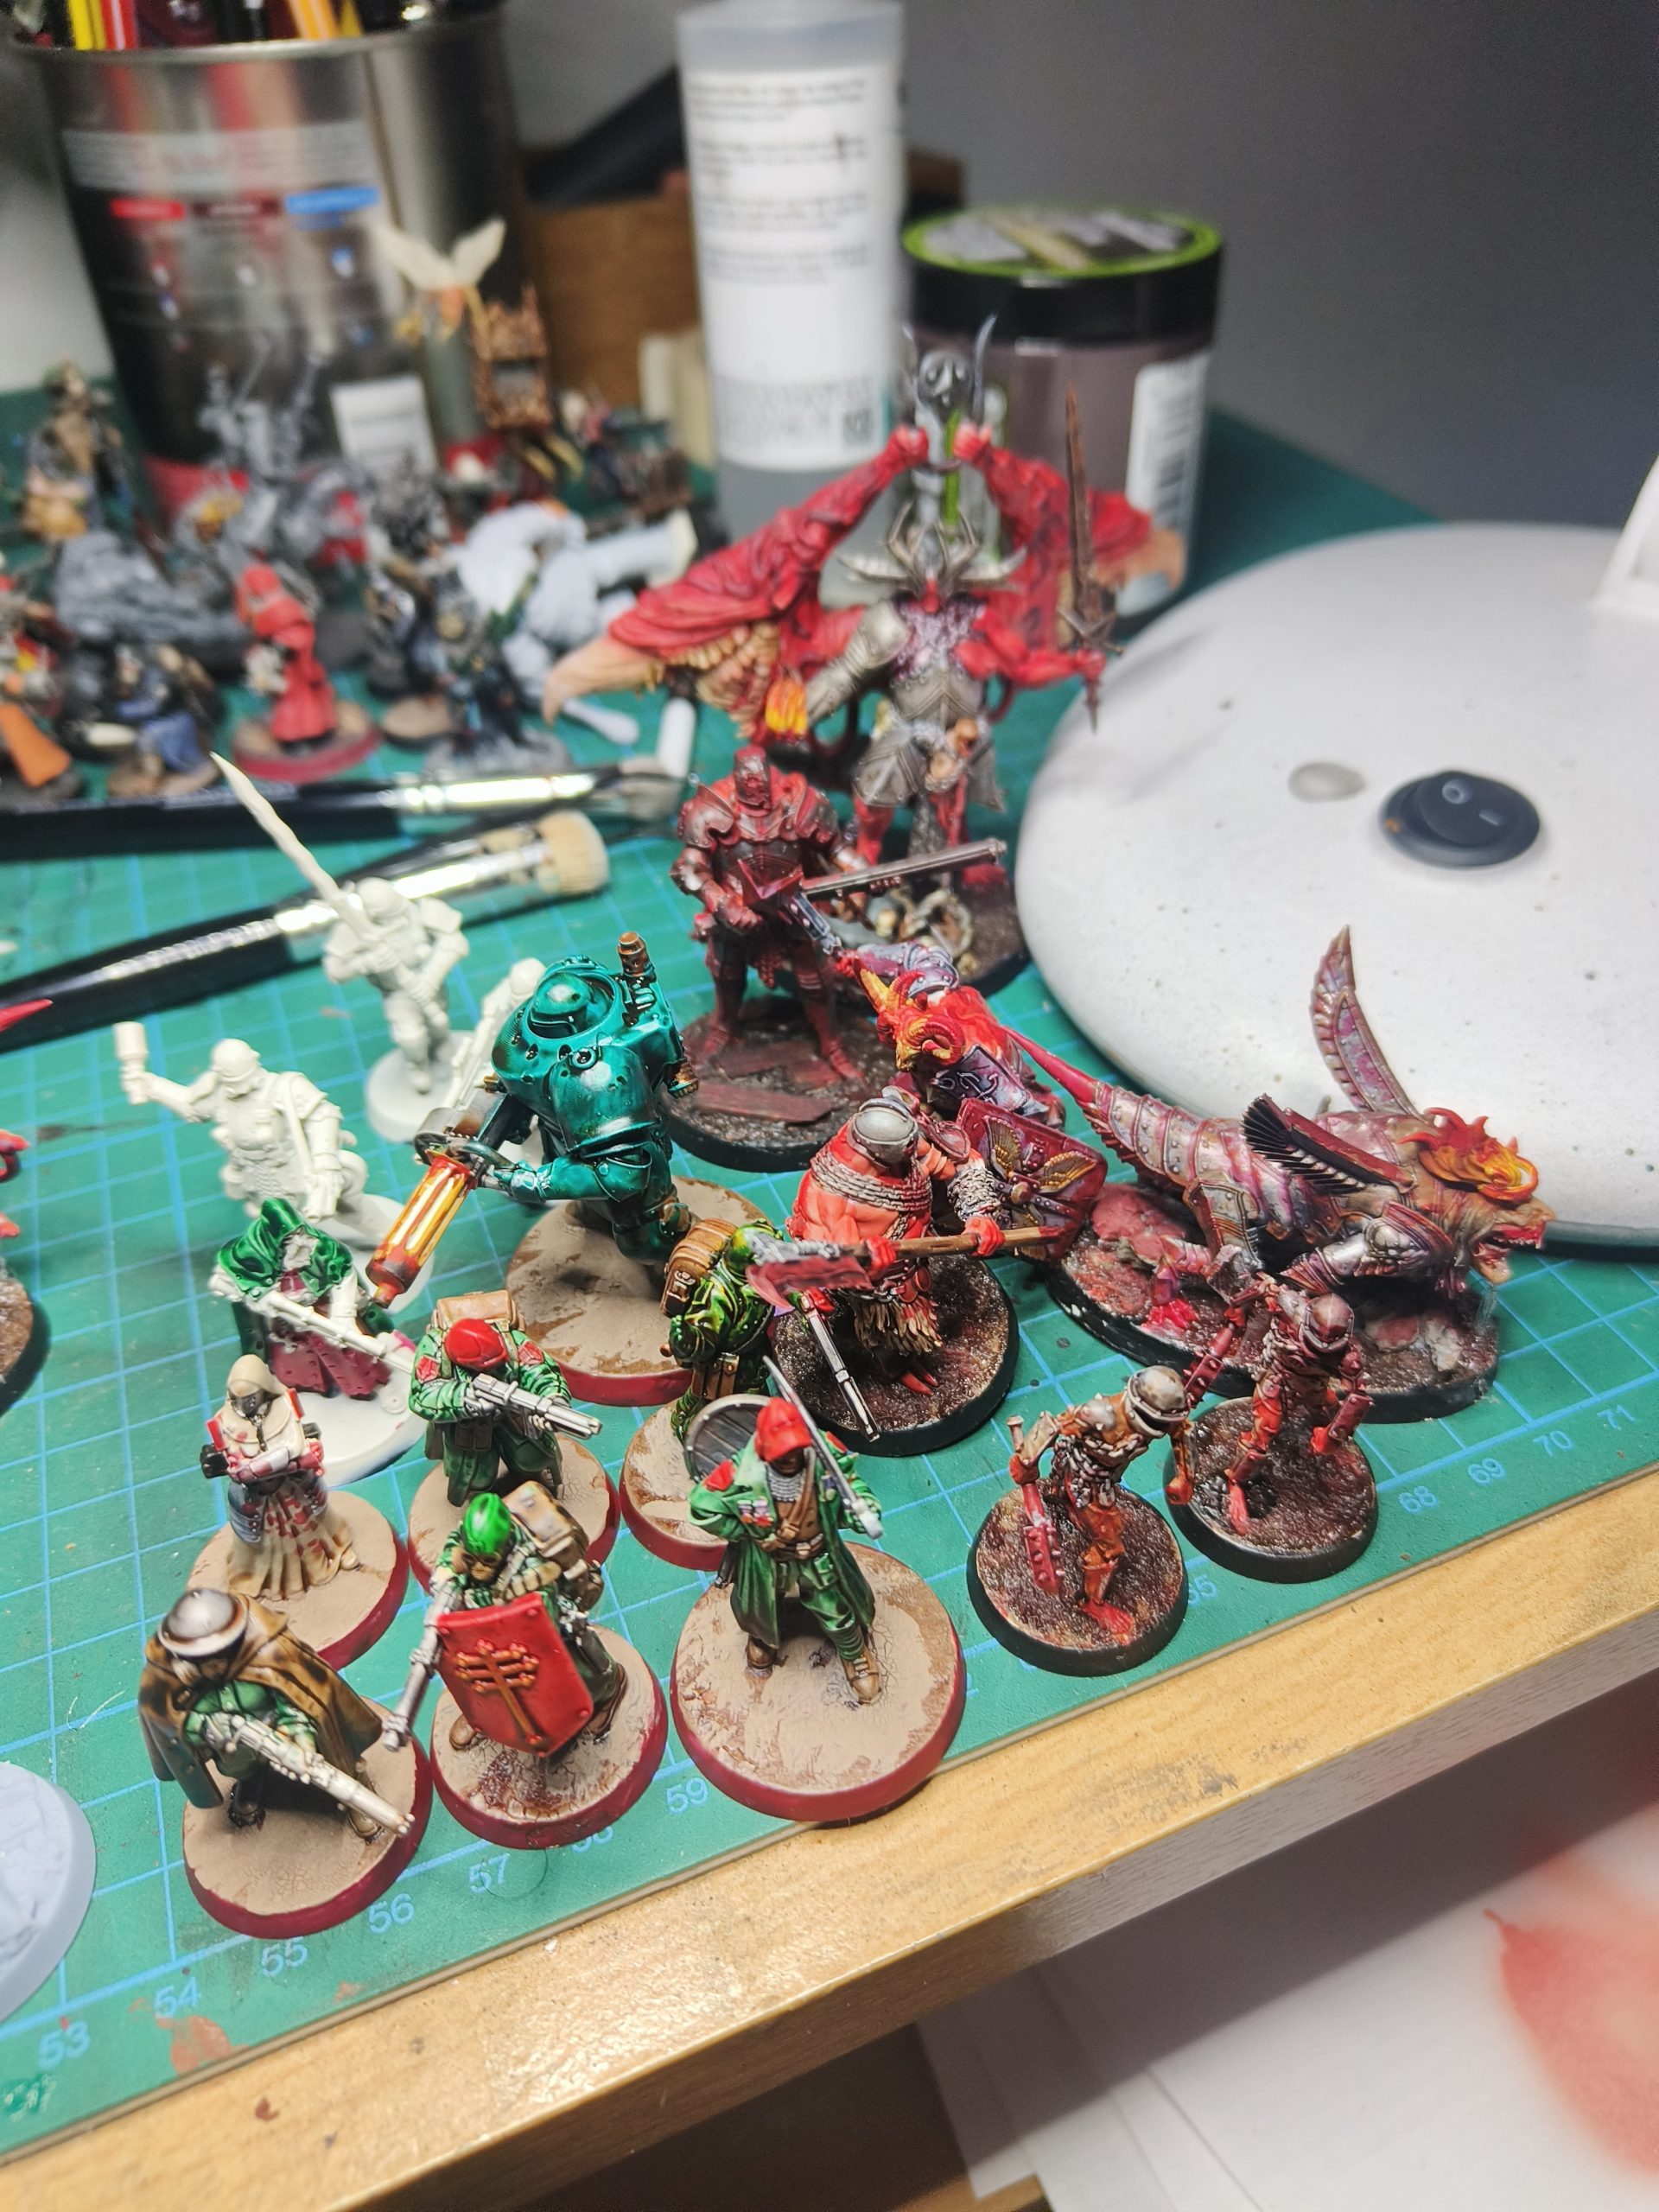
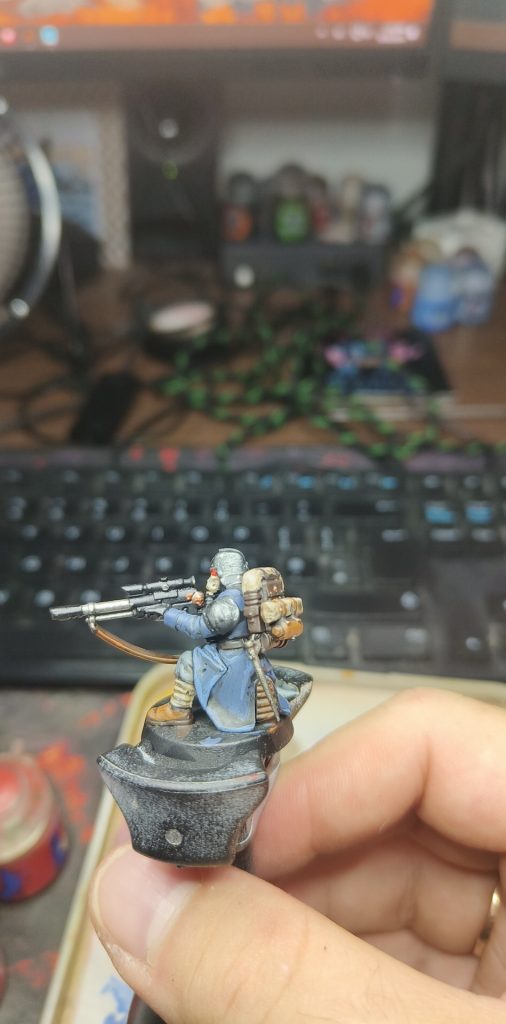
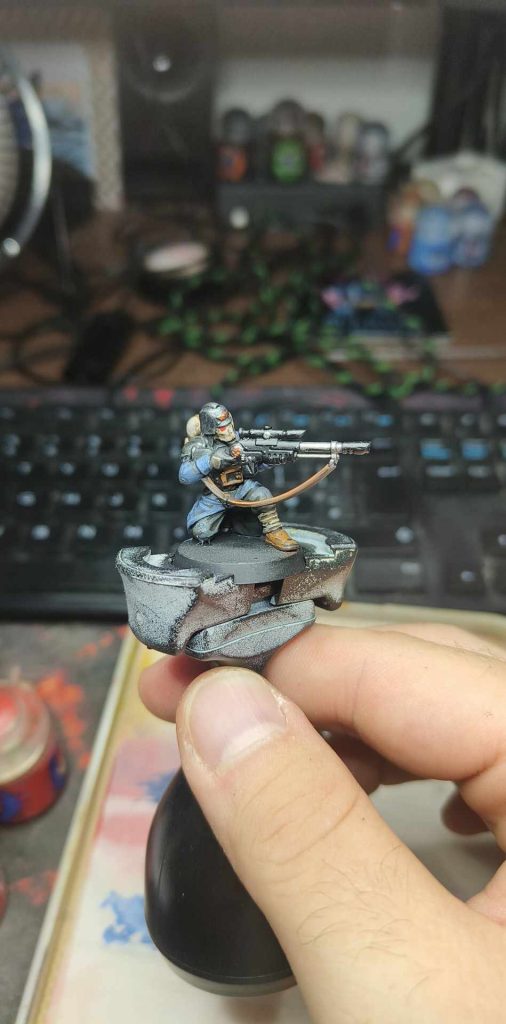
Warband assembled, I chose to use the ones with a more calm stance and had 0 desire to kitbash them to appear calmer so I went with the leader, the comms and the paper-reading fella.
Painting

The painting was fairly simple, based it on the main painting scheme of the Kriegsmen, following the 143rd main infantry regiment colors.
Pretty simple to follow a tutorial from the amazing Duncan Rhodes (here) on how to paint them and this time around tried to focus into make a good effort to finish them properly!
The Leman Russ followed the same color scheme with the exception of an extra hour or so of edge highlighting and then more grime and dirt to make it more fitting for the rough trench warfare of the kriegsmen.
Basing the shovel
The shovel had a good 20cm by 12cm surface area that made it easy to hold and work with. I detached the handle to make it simpler to work with, with the plan to put it back again at the end.
I am still amazed that none in the internet had the idea to make a Shovel diorama of a shovel based 40k army.
Main materials used, EPS foam (the crumbly one) and ready made stuco/filler for spatula work from a hardware store (you can easily find a similar one, pretty cheap around 2.5-3euros and with anything that has a straight surface you can spread it quite well). Downside is the drying time if it’s not a thin layer (corners and bases of cliffs tend to have more material which takes more time to dry).
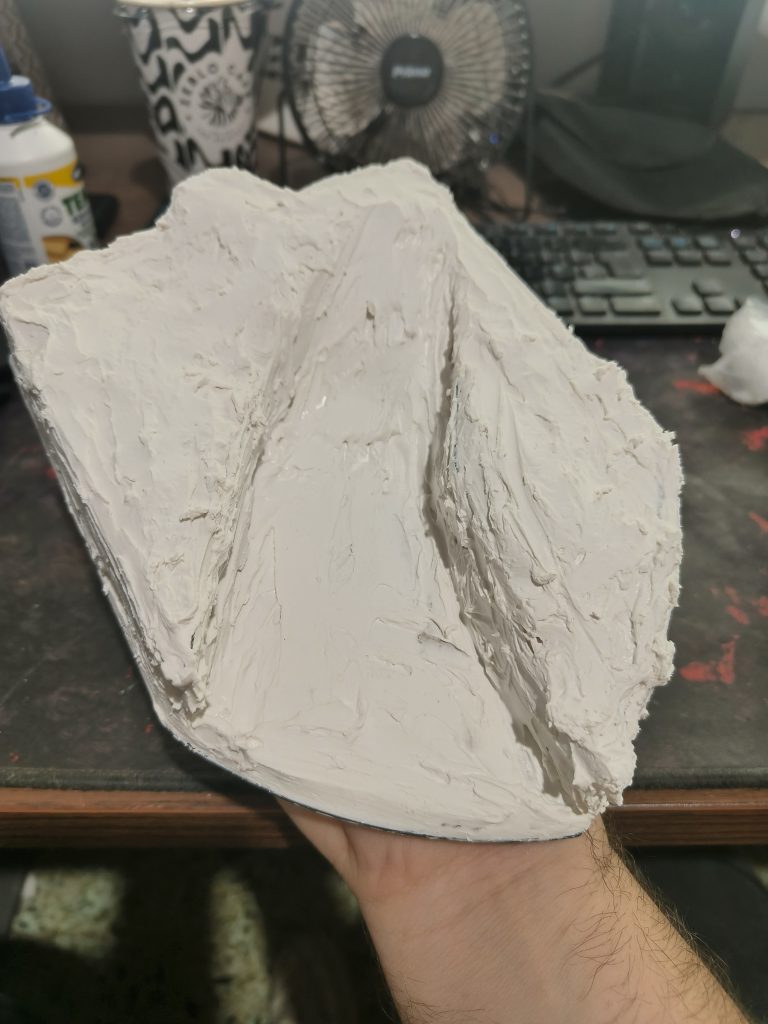
The positioning of the trench was crucial. Did I plan before start cutting? No! I suggest you do the same. The only thing I thought was the angle of the diorama, from where I would admire my work and show the most of the Krieg’s magnificence.
The diorama would depict the start of the trench line where it would broaden probably to more deep lines that cover a big area of the frontline.
In our slice of that war, our guys would group up, catch a breath and plan for the next move.
For that the Trench would open up towards the end of the shovel, trying not to have anything mirrored or aligned perfectly to keep the realism as best as I could.

The Trench
Main help building the trench came from the video series of Eric’s Hobby Workshop (here) as it showed the techniques and materials used to make a pretty looking trench of WWI and WW2 which is quite close to the main Krieg theme.
The material were easy to procure. Some of those were:
- Wooden Skewers – used for the support beams
- Corrugated paper (Odule) – painted in a metallic color looks exactly as a a galvanized sheet of metal used to protect the trench
- Milliput – sandbags used on top of the trench to keep water and mud falling in it
- Miniature wiring from Army Painter (https://thearmypainter.com/products/battlefield-basing-battlefield-razorwire) – one of the few diorama specific materials that I bought
- Miniature basing rocks from Army painter (https://thearmypainter.com/products/battlefield-basing-battlefield-rocks) – honestly you can get some cork and break it apart but I bought the above and was bored.
- Cheap acrylic matte brown spray – hardware store, matte is the ideal but painting over with washes and dirt would remove any gloss finish it might have.
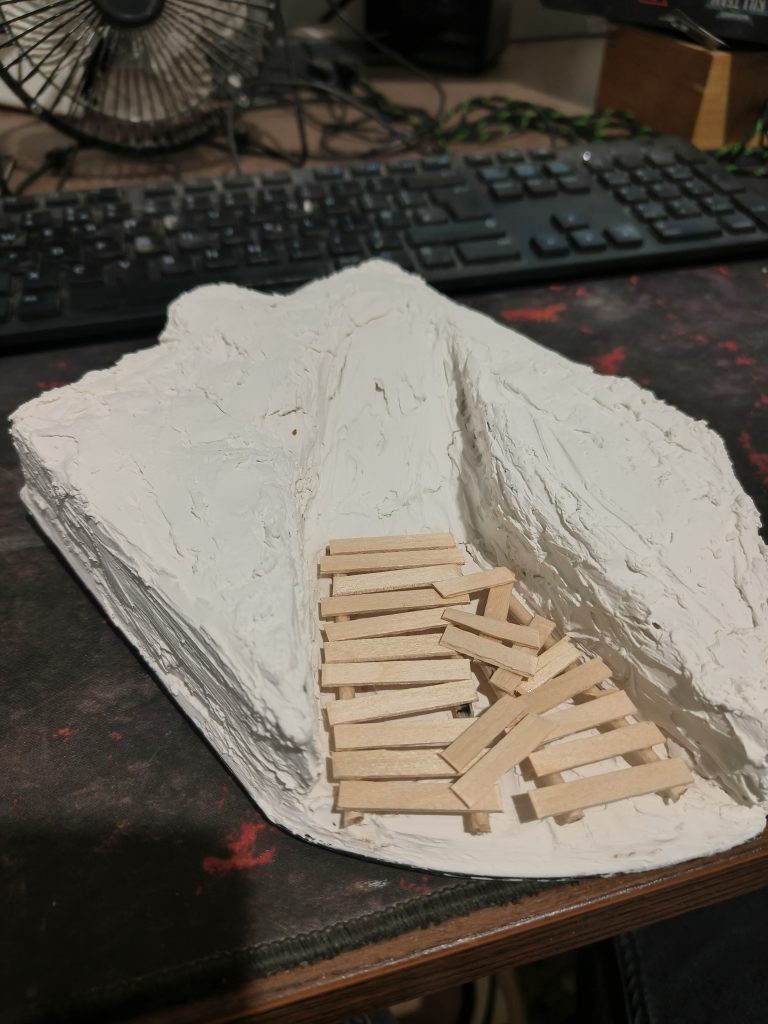

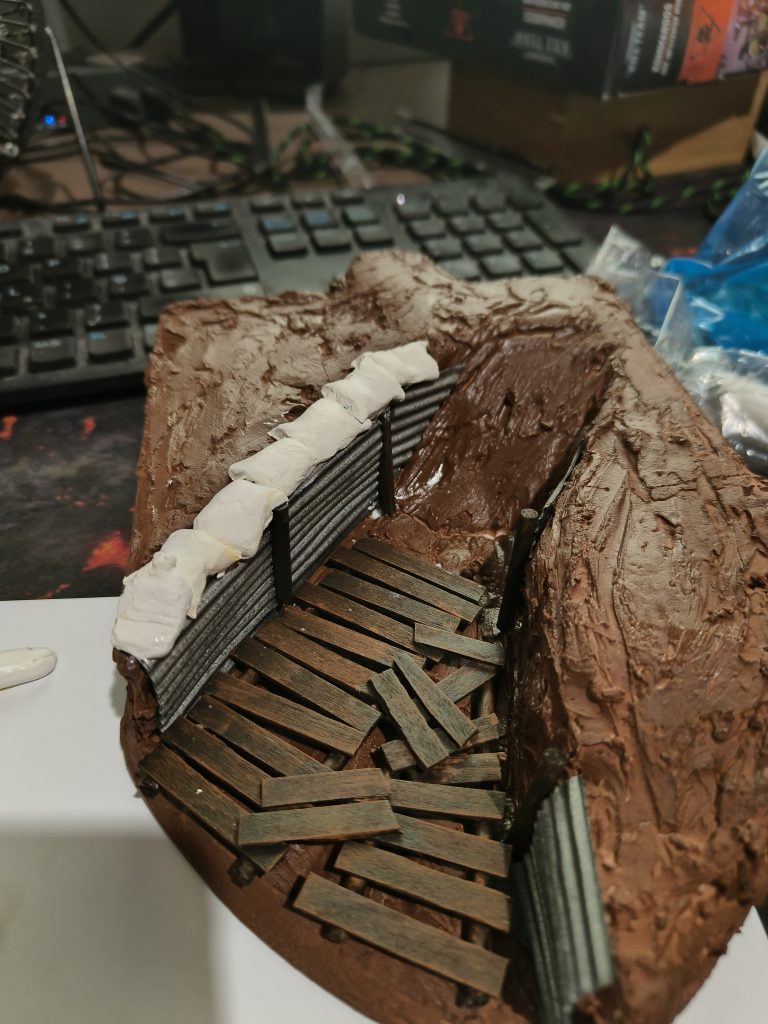
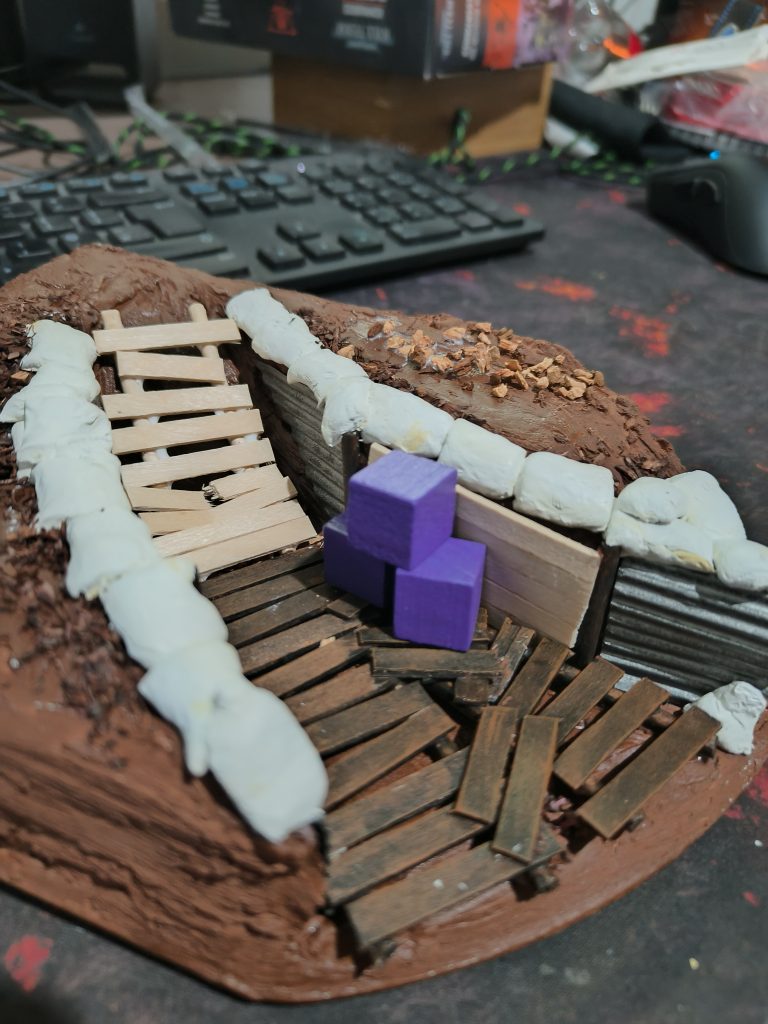
I snapped some coffee stirrers and using as a guide some round wooden skewers I made some platforms for the soldiers to walk on. Big issue during this warfare tactics was the still water in the trenches that brought all kind of infections which was avoided with some wooden platforms to step on.
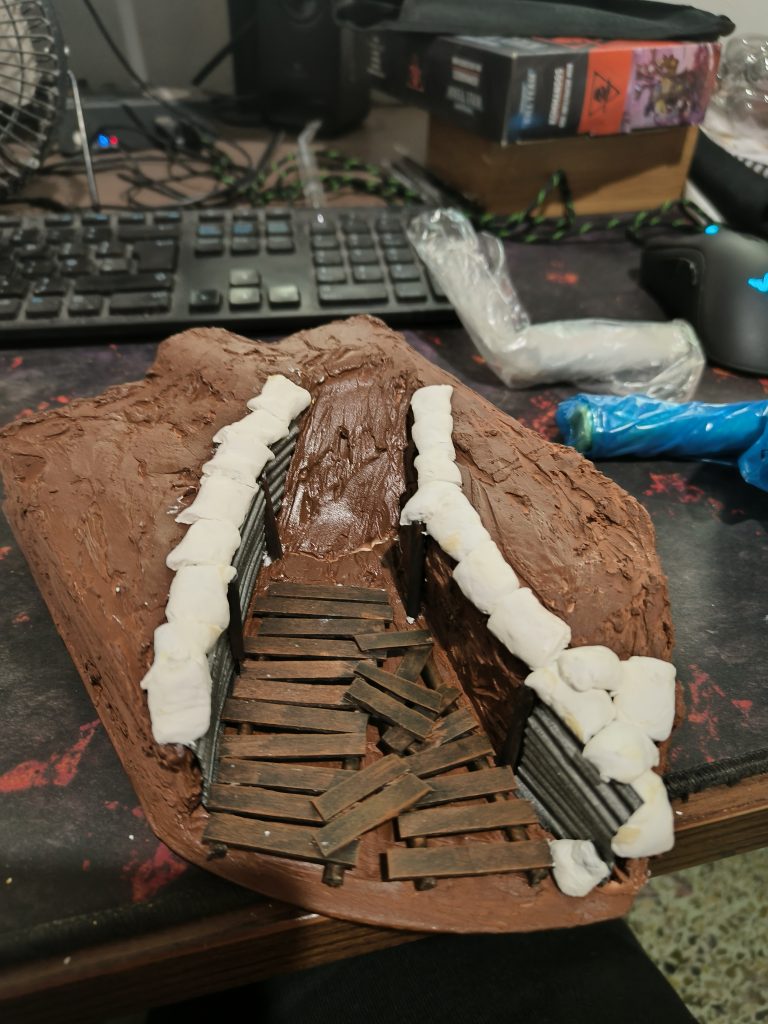
My method is pretty simple: start small, finish one thing, attach and see if you need to adjust or make more. From the photos above you see the stages of my thought process and how I ended up covering the trench in platforms and building the sides of the trench.
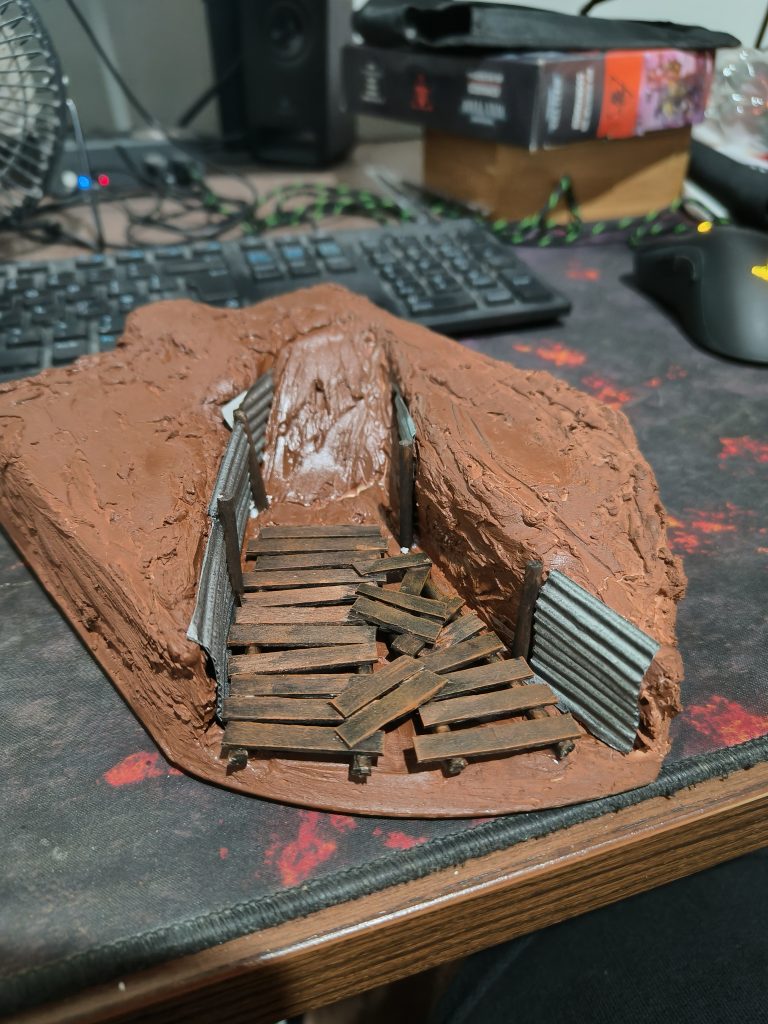
The paint is fairly simple, for the platform base color black or white (doesn’t make much difference) and multiple coats of any brown you have. After that heavy wash of black ink and a drybrush of a light tan brown to bring up the details of the wooden planks.
I had some brown and black wash that brought some more grime which I added afterwards in specific places of the wooden platform.
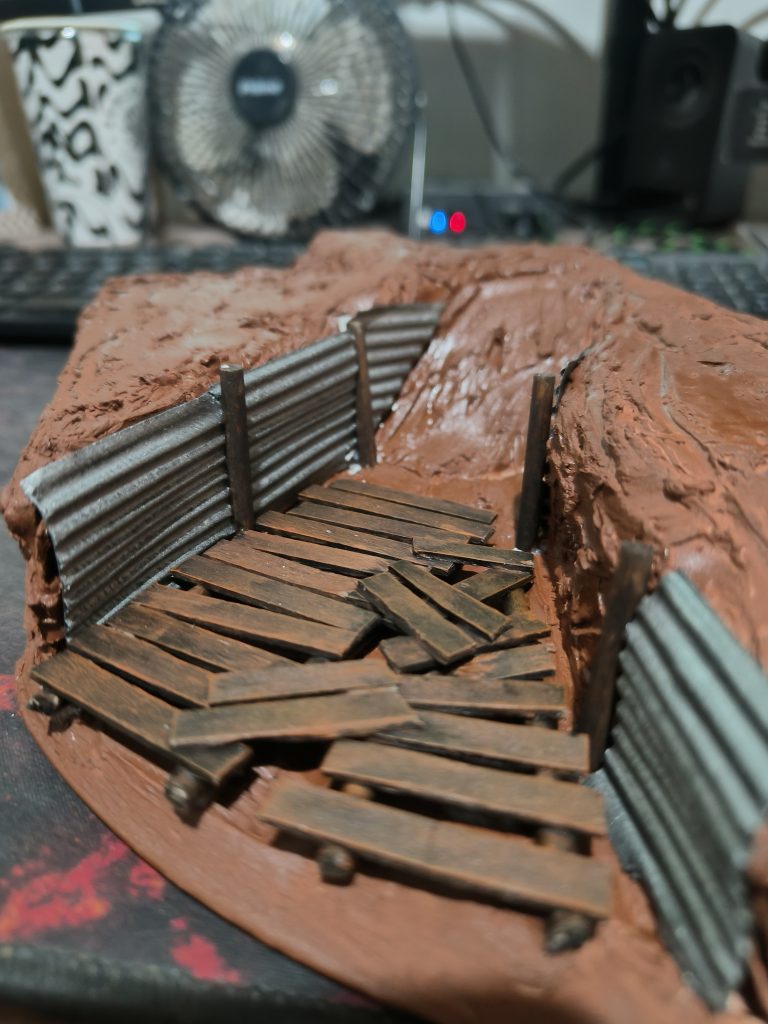
The sides were painted metallic in both sides as per Erik’s video series and attached with normal white/pva glue. The columns were wooden skewers painted as the platforms. Note first snap then paint as you will be left with the top part not covered with paint and doing it afterwards might be a different shade and my OCD would drive me crazy.
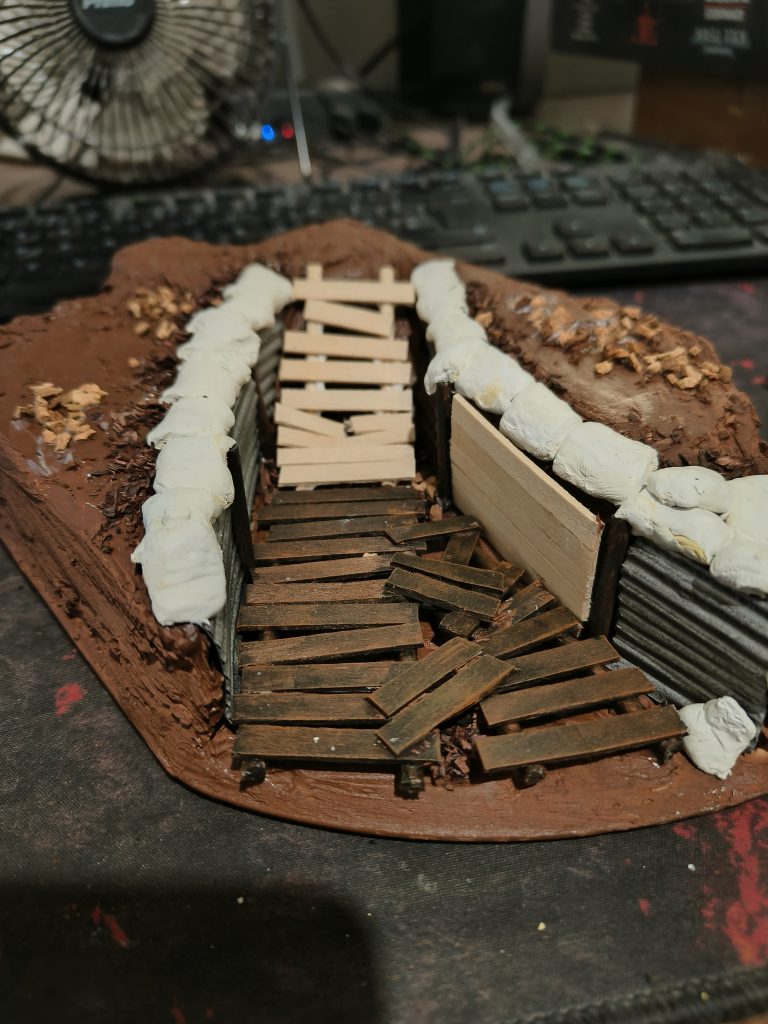
The sandbags were also quite easy to do, I followed this tutorial from the amazing TheTerrainTutor (here). No need to go extra fancy here, they should be rough as they were made to be fast to deploy and efficient.
I went ahead and spent more time on the front side of the diorama with some upright standing sandbags and a smaller one at the bottom right corner for a fun spot in the diorama.
Final touches
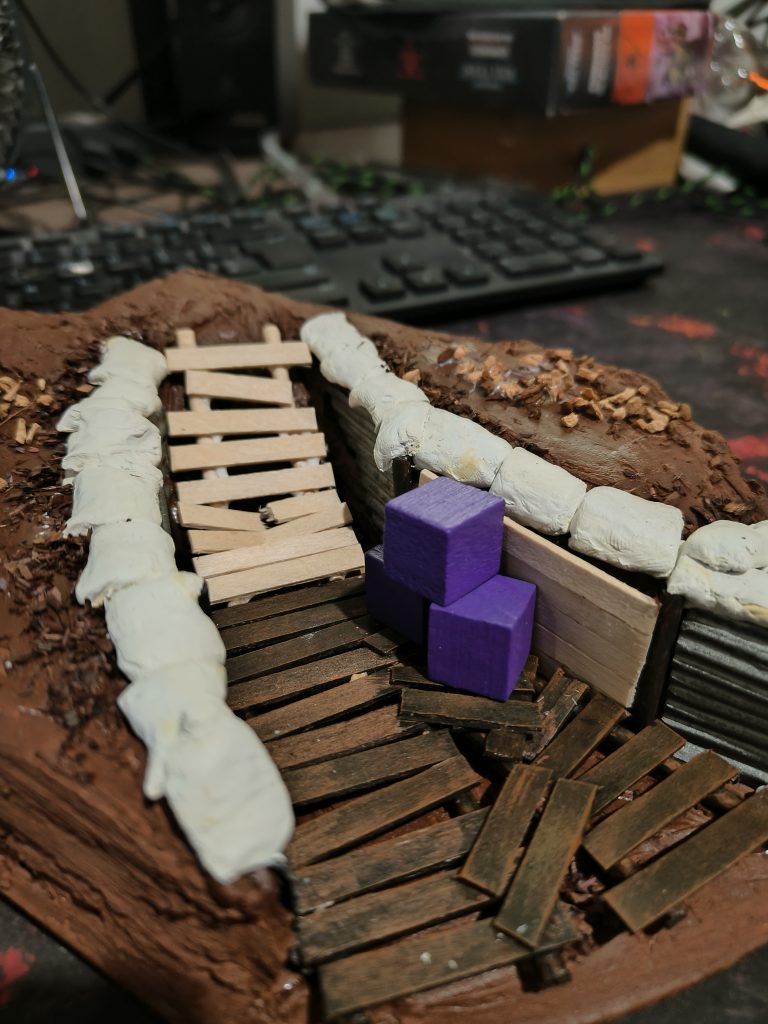
The empty trench was bothering me so I imagined that this would be a good place to have some ammunition and material needed for the frontline, stashed and covered to be used in the near future. For that I got some children 1,5cm x 1..5cm colored wooden cubes (approximately the size of a die) stashed and covered with a really nice technique from The Cult of Crafting (here). I used a baby wipe and covered it in glue, pushed it around to show the natural corners and let it dry. I cut the spare fabric and painted it quickly with a cameo pattern (dark green and dark brown) and glue behind where the kriegsmen would be.
I spent some time, adding rocks and leaves to emulate a somewhat barren and destroyed envrironment. Added some more tan pigment emulating dirt over the platforms and finished the build with a small handmade barbwire obstacle using skewers.
Final Result
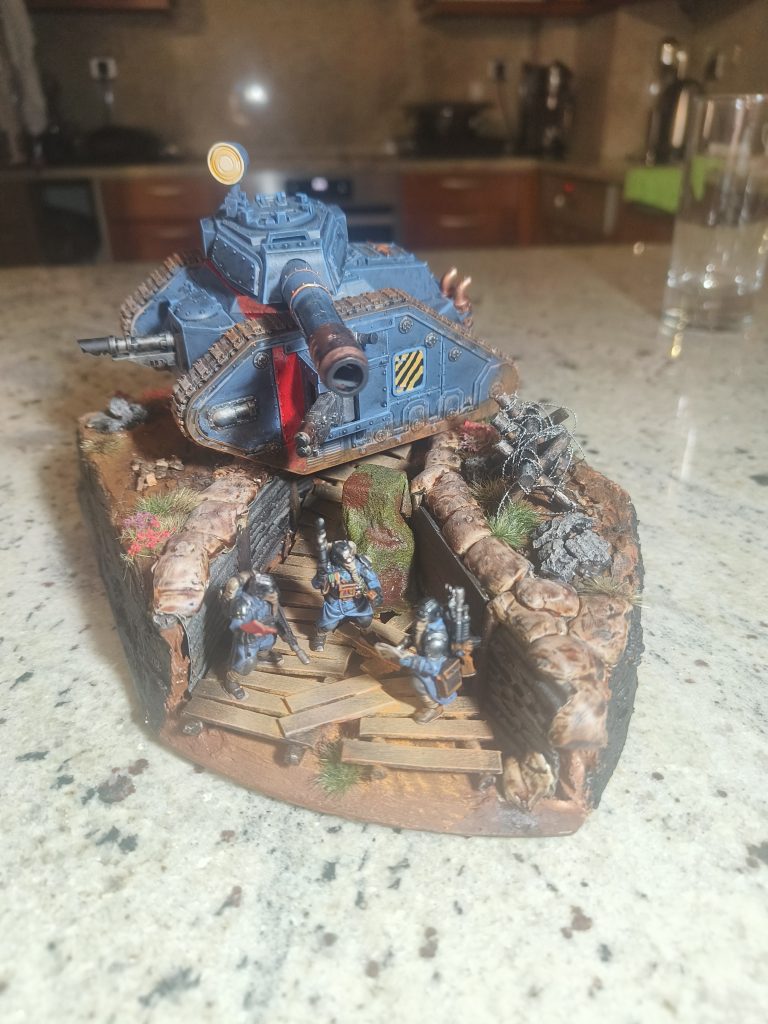

I am really happy with the result and it was way easier to make it than I thought in the start.
Only thing is to attach the shovel handle and take some proper photos….that might be harder than I thought!